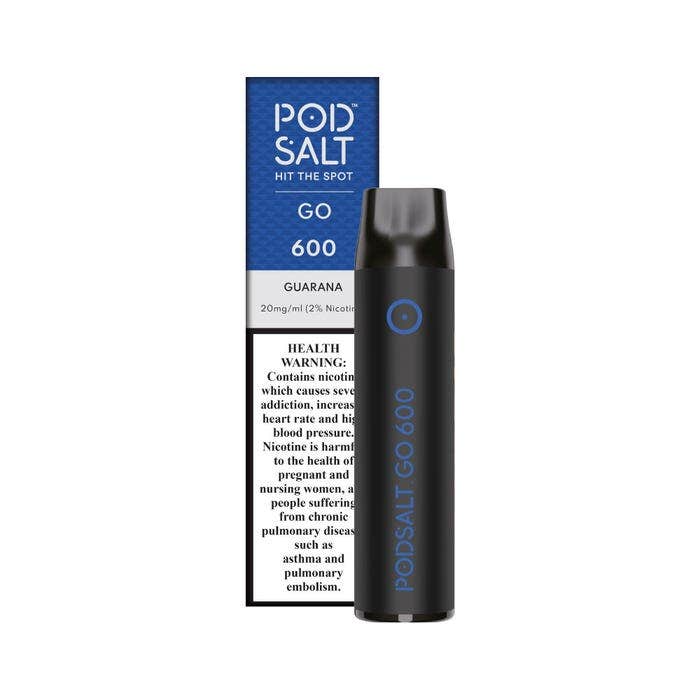
Keeping your vape device clean is crucial for maintaining its longevity, enhancing its performance, and ensuring the purest flavor. Accumulated residue from e-liquid can affect taste, decrease vapor production, and eventually damage your device. To achieve your desired goals, here is a step-by-step guide on how to clean your vape device or disposable pods for optimal performance:
Step #1: Gather materials:
Collect the necessary tools for cleaning your device, including cotton swabs, tissue paper, rubbing alcohol, a bowl with warm water, and optional pipe cleaners or toothbrushes. Also, take apart your device carefully, separating each piece, such as the tank, coil(s), mouthpiece, and battery section. Pay attention to any tiny screws or O-rings, so you know how to put everything back together later.
Step #2: Clean the tank:
Empty the remaining e-liquid from the tank and rinse it thoroughly with warm water. Fill the tank halfway and shake it to loosen any sticky residue. Discard the dirty water and repeat the process until the water comes out clean. Leave the tank upside-down to air dry completely.
Step #3: Clean the coil(s):
Remove the old coil(s) from the tank and examine them for signs of blackening, cracking, or general wear. If they appear damaged, consider replacing them. Otherwise, give them a quick rinse under running water and dip them in a bowl of warm water mixed with rubbing alcohol. Swirl them gently for a minute or two, then rinse again and let them dry on a towel or tissue paper.
Step #4: Clear the airways:
Using a cotton swab dampened with rubbing alcohol, carefully clean the airways and chimney inside your tank. Do the same for the mouthpiece, focusing on removing any residue stuck in corners or along edges. Wipe down the battery section with a lightly moistened cloth or tissue paper. Avoid getting any liquid inside the firing button or ports. Double-check for debris in threading and crevices.
Step #5: Reassemble your device:
After everything has dried completely, reassemble your device, paying close attention to details like screw placement and O-ring positioning. Make sure everything fits securely and that there are no gaps or leaks.
Step #6: Priming new coils:
Prime newly installed coils by applying drops of e-liquid directly to the wicking material. Wait five to ten minutes before filling your tank to allow the e-liquid to soak into the coil fully. After completing the cleanup, start vaping at a lower wattage than usual and gradually increase it over time. This break-in process allows the coil to settle and prevents dry hits or burnt tastes.
